Hi
This paper deals about the creatio of a wornout look using vertex blending. We will becreating a map showing where the object is likely to be exposed hence whethered and by contrast showing where dirt is likely to gather because of cracks being out of weathering reach.
*Pit's and Peaks* is a nice max utility that generate vertexcolors based on the object geometry, quickly finding height and lows points and applying them a color according to these factor.
You can easily isolate exposed parts this way, hence you'll know where paint is supposed to be weathering for example. Its a nice, free and easy alternative to complex Dirt generators. We will use it to defined the pits and peaks areas of the source highpoly model, will store this information as vertexcolor and we will then transfer this onto a texture map fitting an ingame lowpoly model. The resulting greyscale map will provide a mean to easily separate dirt layers in a image editing software.
Here's how one can use it for normalmapped objects :
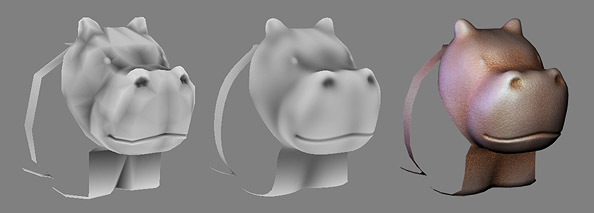
Start with a highpoly object you wan't to weather (middle). Be sure to have access to the smooth algorythm switch in order to be able to work on the proxy object (right). Also built a lowpoly realtime object that will be used for texture baking (left).
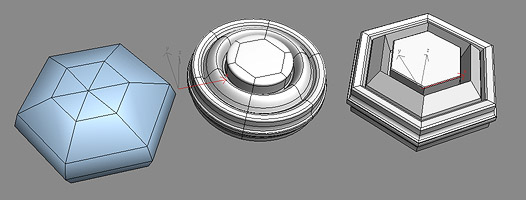
Convert the proxy cage to editmesh as it is required by pitsnpeaks. Run the utility.

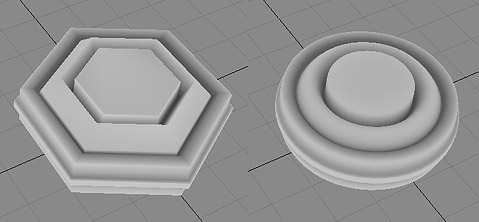
Convert your proxy mesh back to editpoly, and switch on the smoothing.
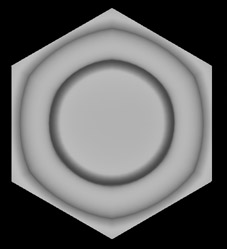
Then setup the rendertotexture utility so that it outputs a diffuse bake based on the realtime model's UVs.

Open the diffuse bake in an image editor.
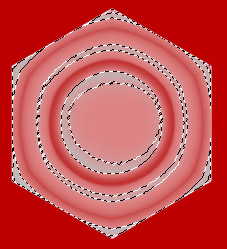
Select the brightest parts.
Open a nice dirty texture, BW it, adjust contrast to get a sharp separation between paint and underlying material. Put it ontop of the baked diffuse render.
Use the selection as a mask to isolate the texture on the 'peaks' areas.
Use the result as a mask to fill create paint and wornout paint areas. Add an inner light layerstyle on the wornout parts, using black, small distance, and normal mode at 50% opacity or so.
Make a copy of the original pitsnpeaks render and adjust levels to get white instead of grey (if this ever makes sense!)

Put that in product mode to simulate dirty areas.
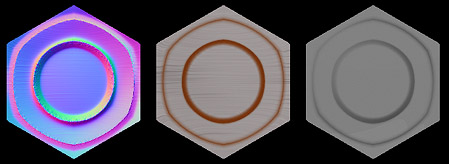
You can easily use the weatherpaint mask as a base to create a specmap...

... and a bump map.

The gamerez model with normal, diffuse, and spec maps applied.

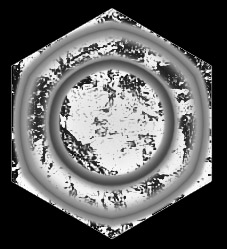
You can take the technique a step further and use the pitsnpeaks information as a vertexcolor mask in a blend material.
This allows the blending of two procedural or bitmap materials on the highpoly object based on the location where dirt may accumulate, taken from the proy model topology.
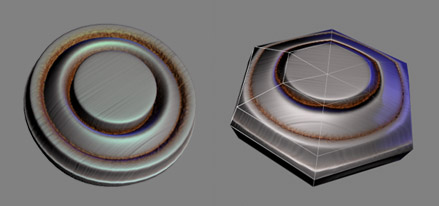
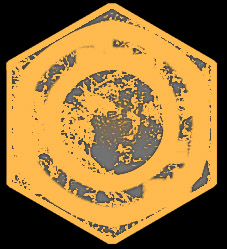
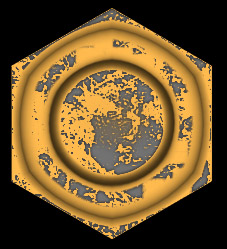
The results can be baked down to the lowpoly's UVs using rendertotexture, giving you a fully textured normalmapped object with no pain and no image editing! Sharp weathered paints bits would still asks for photoshop love in order to avoid the gradient nature of the pitsnpeaks map.
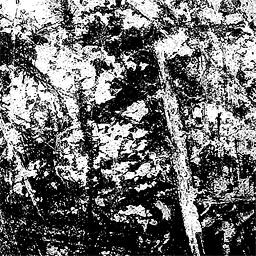
Another weathered object example with procedural dirt layers blended according to the raw pitsnpeaks vertexcolor information from the unsmoothed proxy model.
Hope it was clear enough!